How to make a swatch chart of your markers
4 min read ·
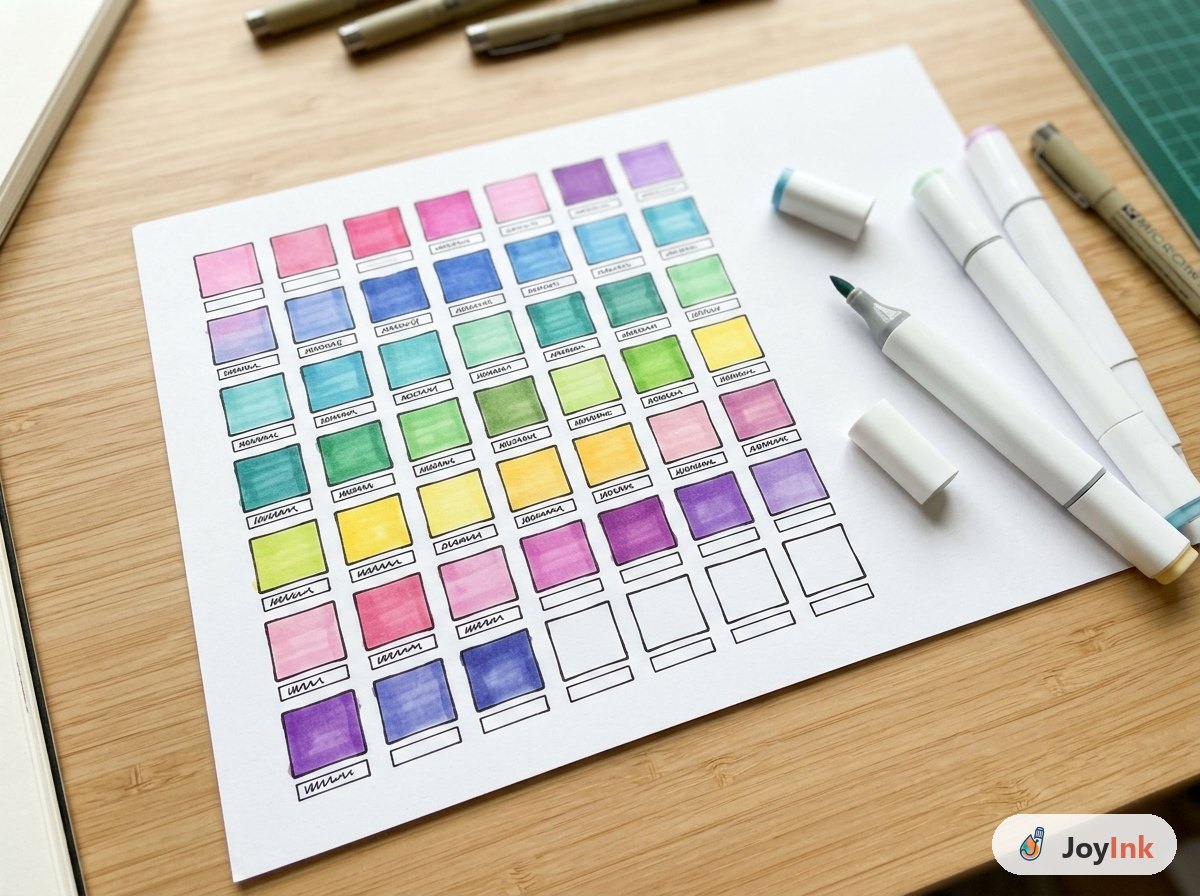
The color of a marker cap is only a rough hint. The ink can look lighter, darker, warmer or cooler once it is on paper, and the same marker can even look different on two kinds of paper. A swatch chart solves that: a sheet with a small sample of every marker you own, so you can pick colors by looking at the real thing. It takes an afternoon to make, and it saves you a lot of guessing afterwards.
Why a swatch chart is worth it
- True colors. You see how each marker actually looks on paper, not on a cap or a screen.
- Faster color choices. Lay the chart next to your coloring page and try combinations with your eyes before you commit.
- No double purchases. You can see at a glance which colors you already own.
- Blending groups. When the colors are arranged by family, it is easy to spot which markers will blend well together.
- Checking dried-out markers. Comparing a fresh swatch with your old chart can show when a marker is running low.
Step 1: choose your paper
Make your swatch chart on the paper you color on most. If you mostly color in a particular book or on a particular marker paper, use that or something as close as possible. Colors on thin, absorbent paper look different from colors on smooth marker paper. If you use several papers, some people make a small chart for each.
Put a spare sheet behind your chart, because alcohol markers usually bleed through.
Step 2: pick a layout
You can draw a grid by hand, but a printed template is quicker and neater. On our free downloads page you will find:
- A blank swatch sheet with empty boxes, for any brand or mix of brands.
- Printable swatch cards for many marker sets, with the codes and color names already filled in.
- If you track your collection in JoyInk, you can print a swatch card made from your own markers when you are logged in.
Decide how you want to order the colors. Common choices:
- By code, the way the manufacturer numbers them. Easy to find a specific marker.
- By color family: all yellows together, then oranges, reds, pinks, purples, blues, greens, browns and greys. Great for choosing colors and finding blending groups.
- By set, if you keep your markers in their original cases.
Step 3: what to put in each swatch
A plain filled square already helps a lot, but a few extras make the chart much more useful:
- The code and name of the marker, written next to or under the swatch with a fine pen or pencil.
- One layer and two layers. Fill half of the box with one layer and the other half with two layers. Alcohol markers get darker when layered, and it is useful to know how much.
- A fade. Some colorists add a small stroke that fades out with a flick or a colorless blender, to see how the color looks when it is light.
- Both tips, if your markers are dual-tipped and you want to see the line each tip makes.
Step 4: color neatly
- Color each swatch with small circles so it is smooth and even.
- Let each row dry before you write on it, so the pen doesn't smudge.
- Work from light colors to dark if you share a sheet with several families, so a dark marker doesn't accidentally touch a light swatch.
- Mark empty boxes for colors you don't own yet, or leave them out.
Step 5: use and update it
- Keep the chart where you color, next to your markers.
- Add new markers as soon as you get them, so the chart stays complete.
- Mark markers that are drying out or running low, so you know what to replace.
- If you notice two markers that look almost identical on paper, write it down. They can stand in for each other.
Keeping your collection in the app too
A paper chart is perfect for choosing colors, but it can't easily tell you what you own when you are in a shop. In the JoyInk app you can keep a digital inventory of your markers: add whole sets or single colors, see which colors you have per brand and keep a wishlist. On the website you can view your markers and print a swatch card from them. You can also look up any color on the marker color pages to see its closest match in other brands, which is handy when you want to know if a new marker is really different from one you already have.
Mini swatches for a coloring page
Before starting a big page, it can help to make a tiny swatch strip with just the colors you plan to use, in the order they will sit next to each other. It shows quickly whether the combination works, and it is something you can keep with the finished page as a record of the markers you used.
A swatch chart is one of the most useful things you can make with your markers. It turns a box of caps into a palette you can actually see.